
Scene
Scene is used for setting a group of values. Typical example are lighting scenes for different occasions (party, romantic dinner).
Scene
Scene is used for setting a group of values. Typical example are lighting scenes for different occasions (party, romantic dinner).
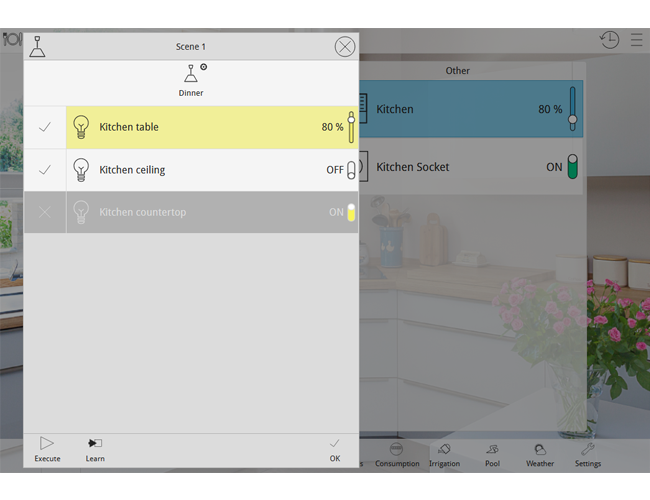
Picture 1: Scene node using KNX lights - KNX Visualization
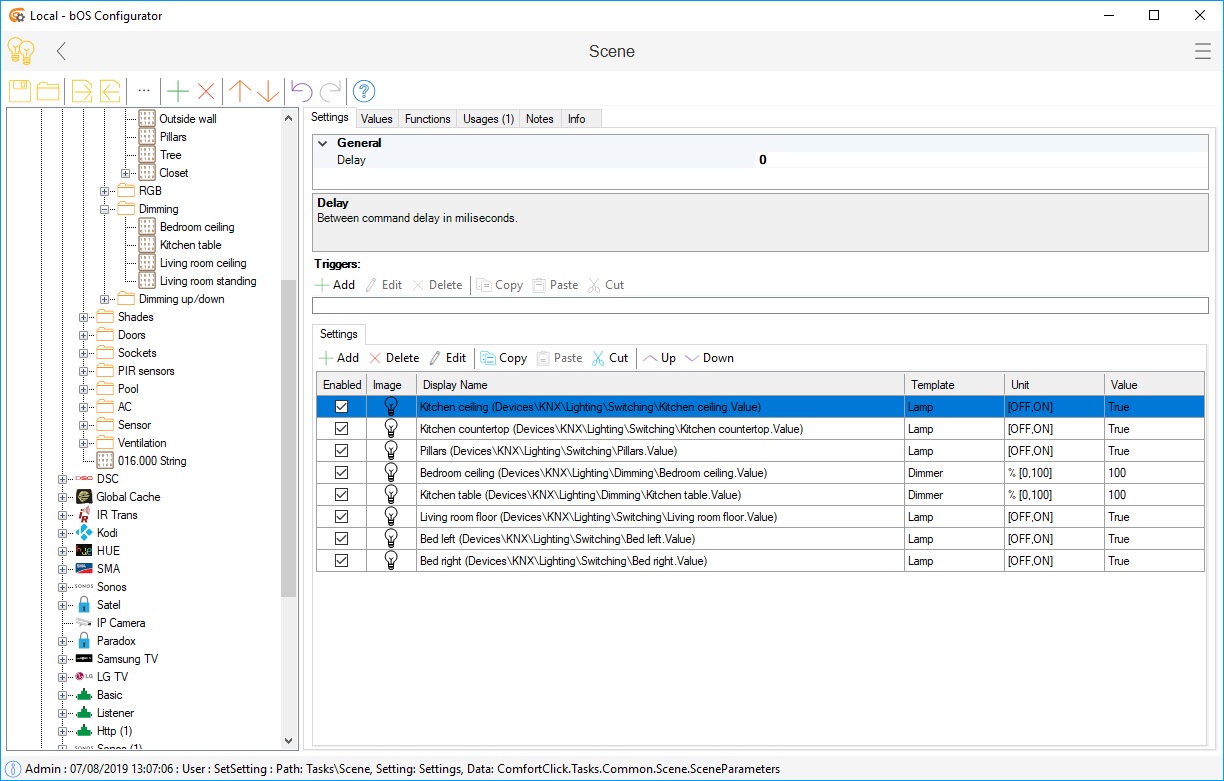
Scene Name defines the name of the scene displayed on the UI control. It can be changed in the user interface by setting the Allow Rename setting. Allow Rename setting is set by selecting the scene in the theme and use the additional settings display on the right side.
Delay setting can be used to execute the scene with a delay between each device. It can be used as a filter for scenes which are turning ON a lot of inductive loads, which can cause an overload on the bus.
Settings List contains the devices controlled by the scene. Each device has the enabled check box for temporary excluding the device in the scene. Users can also change the value of multiple devices by clicking and dragging over the devices that are the same type.
Scene can be executed from other tasks by calling the Run function. Learn function can also be called to learn the scene (i.e. store the states of devices on the list)
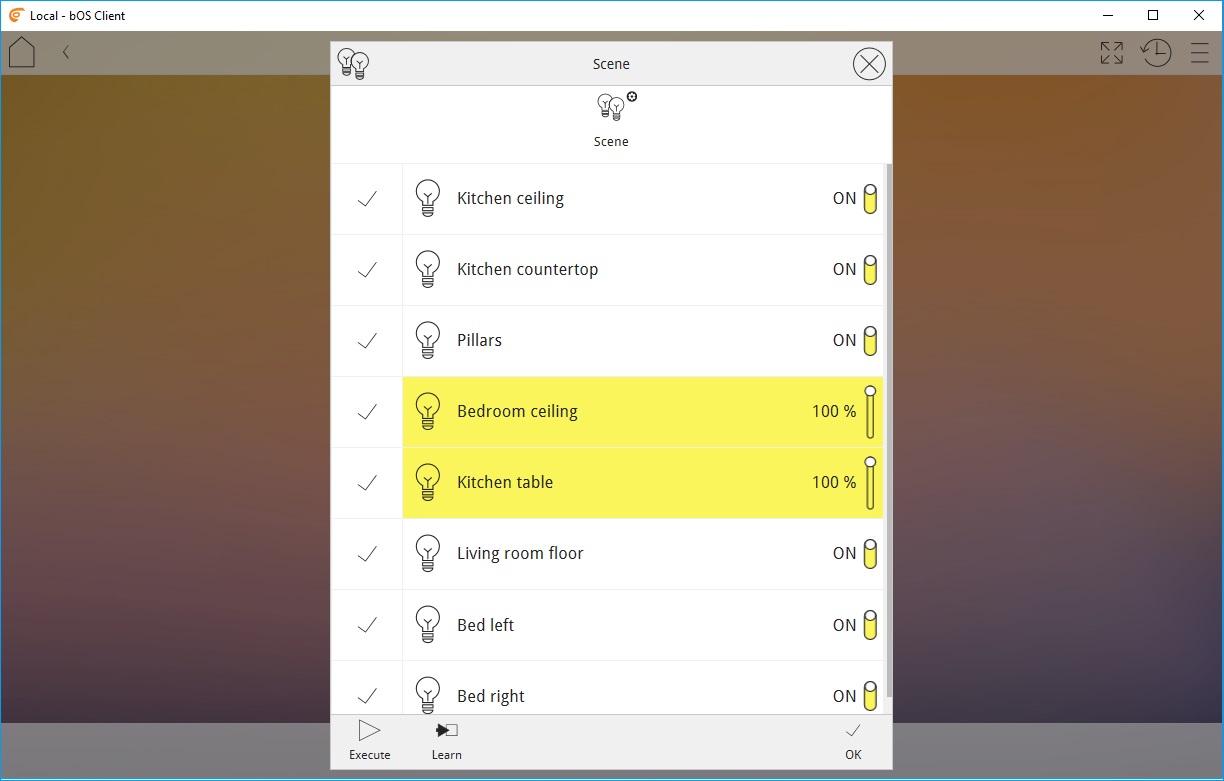
Picture 2: Scene user interface
User interface
Scene task has custom user interface for setting the scene form user interface. If Allow rename is enabled, user can here change the scene name. User can also add an image for each scene for a better preview. If user wants to tweak the selected scene, they can click and hold or click the “settings wheel” on the top right of the icon and the scene will open. They can then select or deselect devices that are infected by the scene and tweak there settings. The Administrator can also disable editing, which will not allow users to change any settings for the scene only trigger it.
Examples
Download example from our Library: Scene
Example 1: Creating a lighting scene for a room
Create a scene.
Add all the lights in the room to the scene.
Copy/paste the created scene to make multiple scene options.
Set different values for each scene.
Create user interface controls.
Example 2: Setting the heating mode
Create a scene.
Add all the thermostat setpoints in the building to the scene.
Copy/paste the created scene to make multiple scene options.
Set desired values for each scene.
Create Program task to call the scenes according to the heating mode selected.
Create a user interface control for user to allow to set the scene.
Example 3: Triggering scenes via KNX push buttons
Program KNX push button to act as a toggle
Create KNX push button group address.
Create a scene.
Create a program that will start scene when you press the KNX push button.
Create a user interface control for user to allow to set the scene.